Edit adjustments
Edit an adjustment when the record should stay, but one detail needs correction.
Most corrections start from the student journal. Find the adjustment, open the three-dot action menu, choose Edit evidence, make the change, then record the reason for editing before saving.
Common edits include the date, evidence type, linked case note, file evidence, alignment with disability, total time, or a short wording correction.
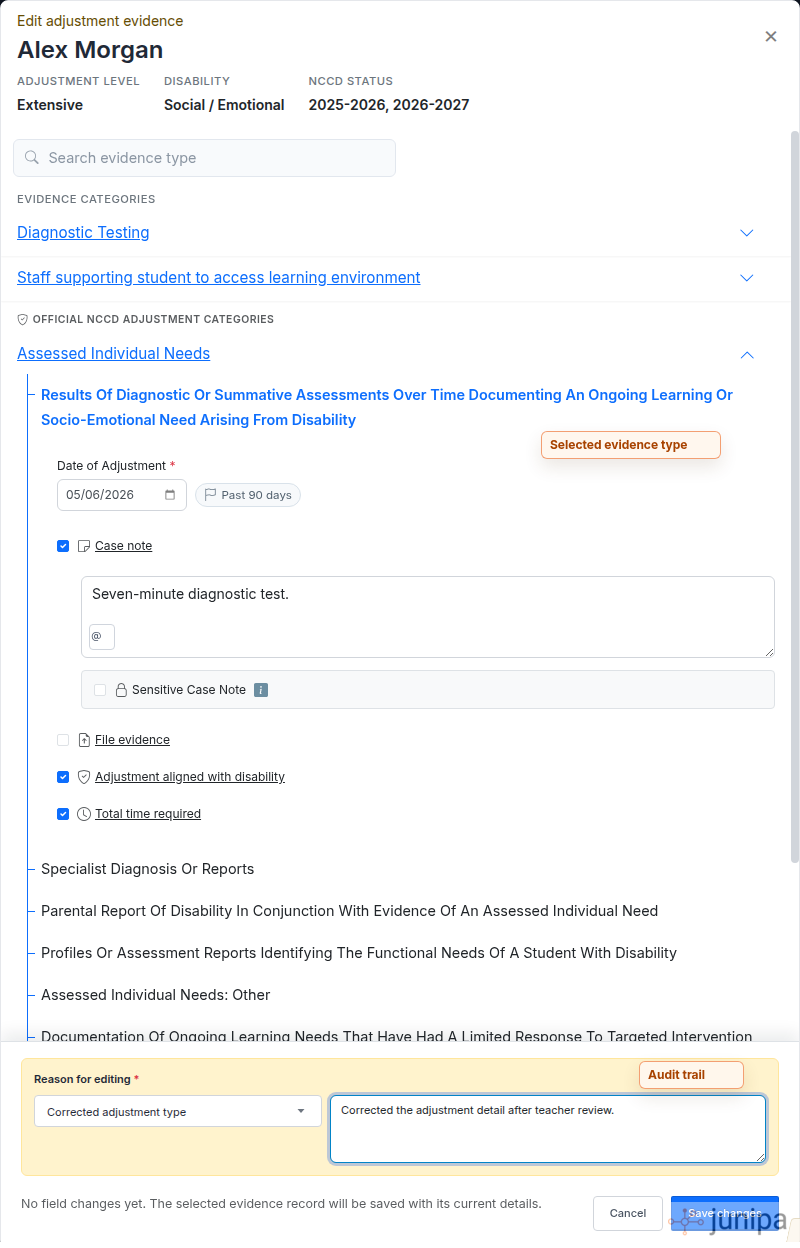
Edit an adjustment after a mistake
- Open the student record.
- Go to the student journal or recent record updates.
- Find the adjustment that needs correction.
- Open the three-dot action menu on that row.
- Choose Edit evidence.
- Change only the detail that needs correction.
- In Reason for editing, choose the closest reason and add a short audit note.
- Save the update.
Add an image to an existing adjustment
If the adjustment is correct but the proof is missing, add the file from the existing adjustment entry.
- Open the student record.
- Find the adjustment in the student journal.
- Open the three-dot action menu.
- Choose Edit evidence.
- Turn on File evidence.
- Add the image or file.
- In Reason for editing, choose Updated attachment and add a short note.
- Save the record.
Use attaching files for the detailed file steps.
Remove an image from an adjustment
Use this when the wrong image was attached, the file is duplicated, or the file belongs on another record.
- Open the student record.
- Find the adjustment in the student journal.
- Open the three-dot action menu.
- Choose Edit evidence.
- Remove the image from the current attachments.
- In Reason for editing, choose Updated attachment and add a short note.
- Save the record.
The record should still make sense after the file is removed. If the file was the only evidence, add the correct image or case note before review.
Move an adjustment to another student
If the edit screen shows Student and Change student, use that control.
- Open the mistaken adjustment.
- Choose Edit evidence from the row action menu.
- Click Change student.
- Search for the correct student.
- Check the linked case note and file still make sense for the new student.
- Add the Reason for editing.
- Save.
If your school cannot see Change student, record the adjustment on the correct student first. Then ask the case manager or learning support lead whether the mistaken record should be deleted or excluded.
Cancel before saving
If you are halfway through the form and realise it is wrong, click Close or Cancel.
Nothing is saved until you click Save.
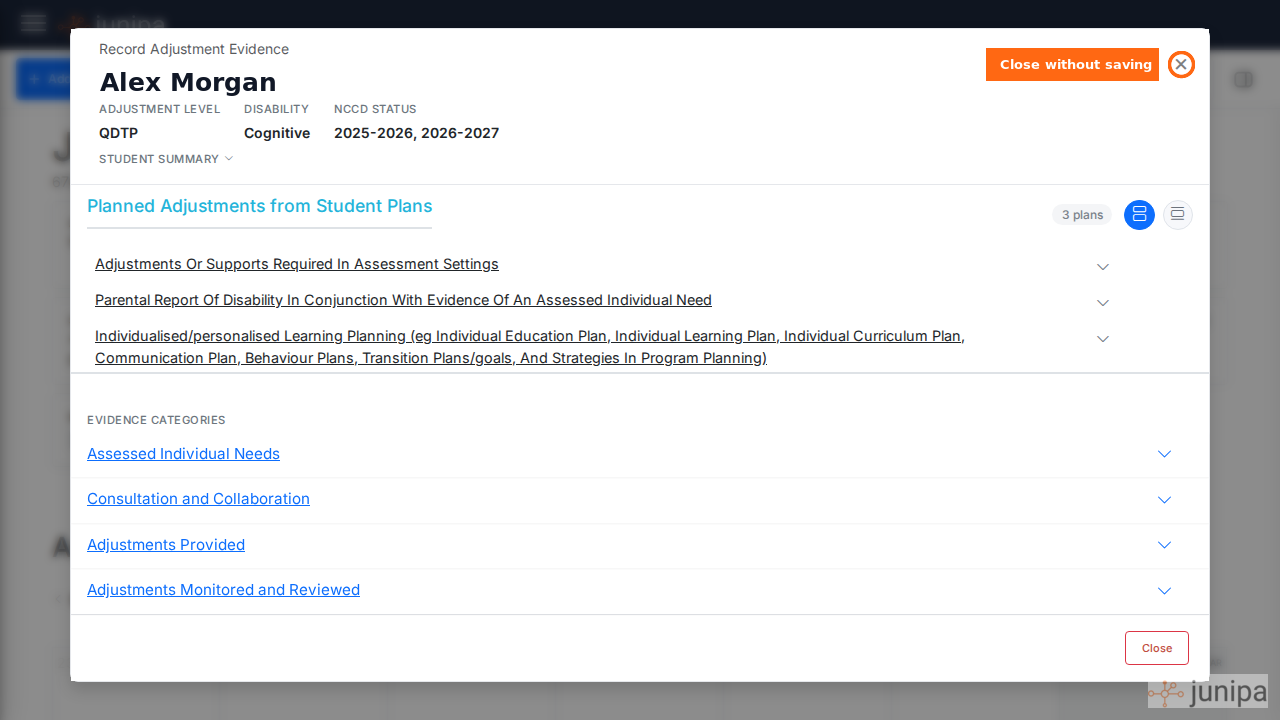
Keep the record honest
If the adjustment changed over time, do not rewrite the whole record as if the first version never happened.
Instead, make the current record clearer, then add a follow-up note or new evidence entry when the change needs context.
Good reasons to edit
- The adjustment was saved with unclear wording.
- The date or location is wrong.
- The adjustment category does not match the support provided.
- The record needs a clearer description before reporting review.
- A teacher needs the wording to be more practical.
Use reports to find edits
Reports can show where adjustment details need attention:
- Audit Report helps find records with thin or unclear evidence.
- Student Activity helps find active students who still need a clear reporting decision.
- Adjustments with Attachments helps find adjustments that need supporting files.
Next: delete adjustments.